Add Certificate of Completion in Catalog Course
As a Catalog admin, you can create a course certificate on a course-by-course basis. When created, certificates are automatically issued to students when they have completed all requirements in a modules-based course. You can add a pre-designed template or create a custom template from HTML/CSS.
Notes:
- Courses can only be identified as complete if the courses include modules. Learn how Catalog works with Canvas.
- If an admin manually enrolls a user in a Catalog course, the user will not receive a certificate upon completion of the course. To ensure users receive certificates of completion, have them self-enroll. However, if a user is enrolled in a course through Canvas and if Canvas-enrolled courses are displayed on the dashboard, the user can view the certificate of completion for the course but will not receive the certificate via email.
Custom Certificates
You can create a custom certificate for a catalog program. Certificates must be in HTML/CSS format and can be customized with some supported variables, such as Congratulations, {{student_name}}! View an example CSS certificate file.
To customize a certificate, you can use the following supported variables in your template:
- student_name: The name of the student
- catalog_name: The name of the school or institution
- catalog_logo: The URL of your catalog logo; usage: <img src="{{catalog_logo}}" />
- award_name: The name of the certificate
- completion_date: The date of completion
1. In the User Menu, click the Admin link.

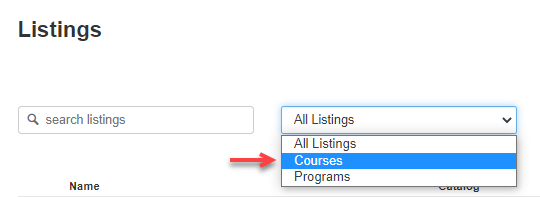
2. In the Listings drop-down menu, click the Courses link.
3. Click the name of the course listing.
4. Click the Certificate tab.
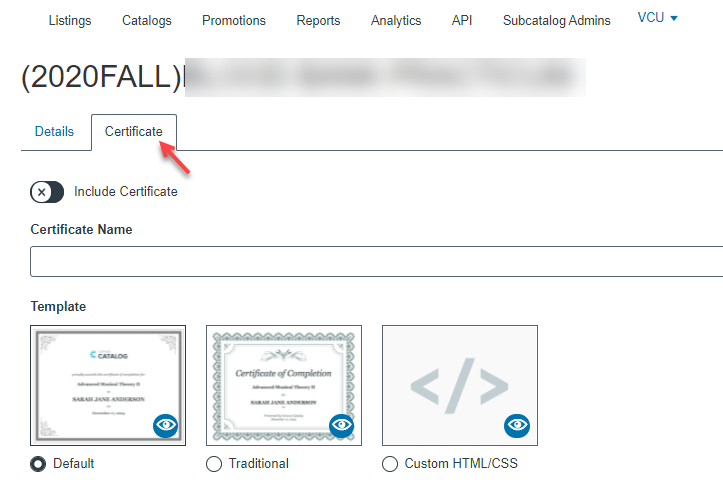
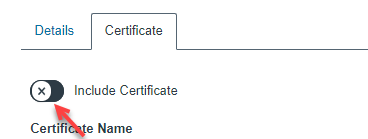
5. Include the certificate in your course by toggling the Include Certificate button.
6. Create a name for the certificate.
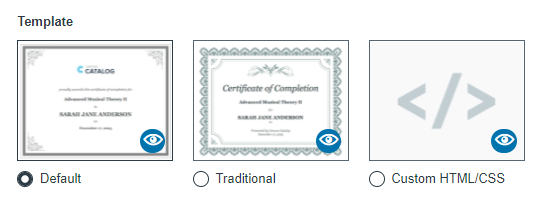
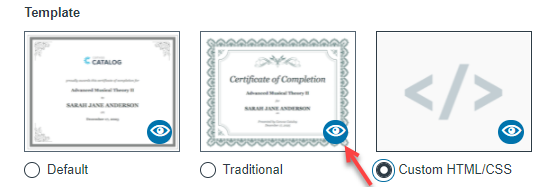
7. Click the radio button for the template you want to use for your certificate. You can choose the default template, traditional template, or a custom HTML/CSS template.
- The default template includes the catalog logo, certificate name, student name, and date.
- The traditional template includes the certificate name, student name, account name, and date.
- The custom template requires custom HTML/CSS. Any coding you include here will be retained if you choose to switch to one of the pre-designed templates at a later time.
Add Custom Template
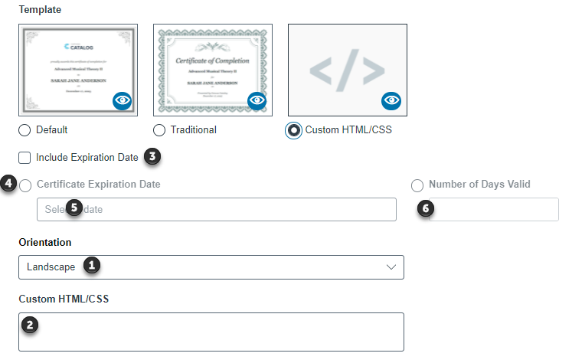
For custom templates, select the orientation for the template and add the custom code.
In the orientation menu [1], select either landscape or portrait orientation.
In the Custom HTML/CSS field [2], enter your template information in an HTML/CSS format. You can paste the code directly into the template field, or you can paste a URL to an external template file.
To include a certificate expiration date, click the Include Expiration Date [3] checkbox.
You can select a specific date on which the certificate expires or set a number of days for which the certificate is valid.
To add a certificate expiration date, select the Certificate Expiration Date option [4]. Click the Select a date [5] field and choose a date from the calendar.
To set the number of days for which the certificate is valid, select the Number of Days Valid option [6]. Type the number of days that you want the certificate to remain valid.
Preview Certificate
To preview a certificate, click the Preview icon.
8. Click the Save button. Confirm your certificate was added successfully.
Note: Catalog will notify you if there are errors with your certificate. If there are any errors, correct them and then click the Save button again.