Add, Edit, or Delete Course Sections
Add, edit or delete sections by editing your course settings in Canvas. These images are referenced in the instructions below.

Note: Sections may be added by your institution's student information system (SIS). If a section in your course includes an SIS ID, you may not have permission to edit or delete the section.
NOTE: The images above are referenced throughout these instructions.
Add a Section to Your Course
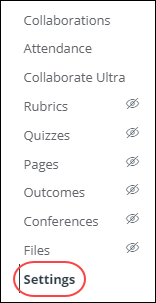
- After selecting settings in the Course Navigation menu, click the sections tab [1].
- In the section field, type the name of the new section, then click the +Section button [2].
- The new section will appear in the Course Sections list [3].
- You can also choose to change section start and end dates if needed.
- You can add additional sections if necessary. Multiple sections are ordered alphabetically.
Note: If a section was previously added via SIS, and you have permission to view SIS IDs, the section's SIS ID also displays in the Course Sections page.
Edit the Name of a Section
- After selecting settings in the Course Navigation menu, click the sections tab [1].
- Beside the section you want to change, click the edit icon [4].
- Type the name in the text box and select return (MAC) or enter (Windows) to save your changes. View the updated course sections in this same window.
Delete a Section
- After selecting settings in the Course Navigation menu, click the sections tab[1].
- Locate the section and click the remove icon [5].
Note: You cannot delete a section that have users enrolled. - Click the OK button.
Manage Section Enrollments
Once you have added sections to your course, you can add users to sections from the People page in your course.