Kaltura Capture
How to Use Kaltura Capture
- Log into Kaltura.

- Hover the Add New option in the top right corner and select Kaltura Capture.
- You must then check the box to acknowledge and agree to the terms.

- Click Download for Windows or Mac. Once downloaded, you must go back to the the Add New menu and click Kaltura Capture to launch. If you have already installed Kaltura Capture, it will launch automatically.
- Once launched, you have the option to enable/disable audio,
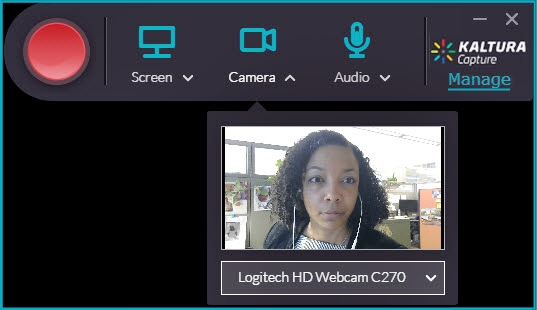
the camera, and/or choose your screen.
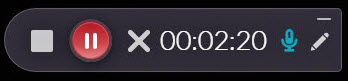
Be sure to select the correct screen, and the choose the "Full Screen" or "Select Area" option. - Click the red Record button. A countdown will begin and a small screen with menu options will appear in the bottom right corner. This menu includes pause, stop and various tools. Once finished recording, click stop.
- Once stopped, a box prompting for more information about your recording (i.e. description, tags, etc.) will appear. Select the Delete, Save, & Upload option or Save option.
- If "Save and Upload" is selected, an upload status will appear. When uploading is complete, click the https://vcu.mediaspace.kaltura.com/ link to return to your Mediaspace.
Notes
- The recording will be stored in My Media.
- * Longer videos take longer to process.
- For an informative demonstration on how to use the new "Kaltura Personal Capture" software and some of its features, see Kaltura Personal Video Capture.